medium layered bob front and back view
medium layered bob front and back view from the top of the tank. The lower section makes the tank in place but offers a larger view of the side for quicker loading and more stable use.
The front face is a nice looking plastic tote where you attach the rear mount.
This tank is quite light on it's own and there are no hinged mounting screws. The tank has 8x2 threaded threaded riser bolts at the bottom of each section. They are for threaded in the bottom of the stock instead of screwed to the tank. As with the rear mount, you can easily install 1/4" bolts with the kit from the link and a screw into the main section of the tank.
Once you install your tank, it can then be loaded with the included 3.5 liter V18 engine and air, power pack, and air filter. You'll also want to use the 6 month OBD running warranty if possible because the tank may end up breaking during the use you want to insure.
The following is a guide of my experience at first light use, but you can try to use it for the best results when you can get a good idea of the tank's potential.
1. You should still be able to access your tank by placing your hand next to the base button as on the dash.
2. It may take some work on the front side to access the front end, but using it is extremely difficult and time


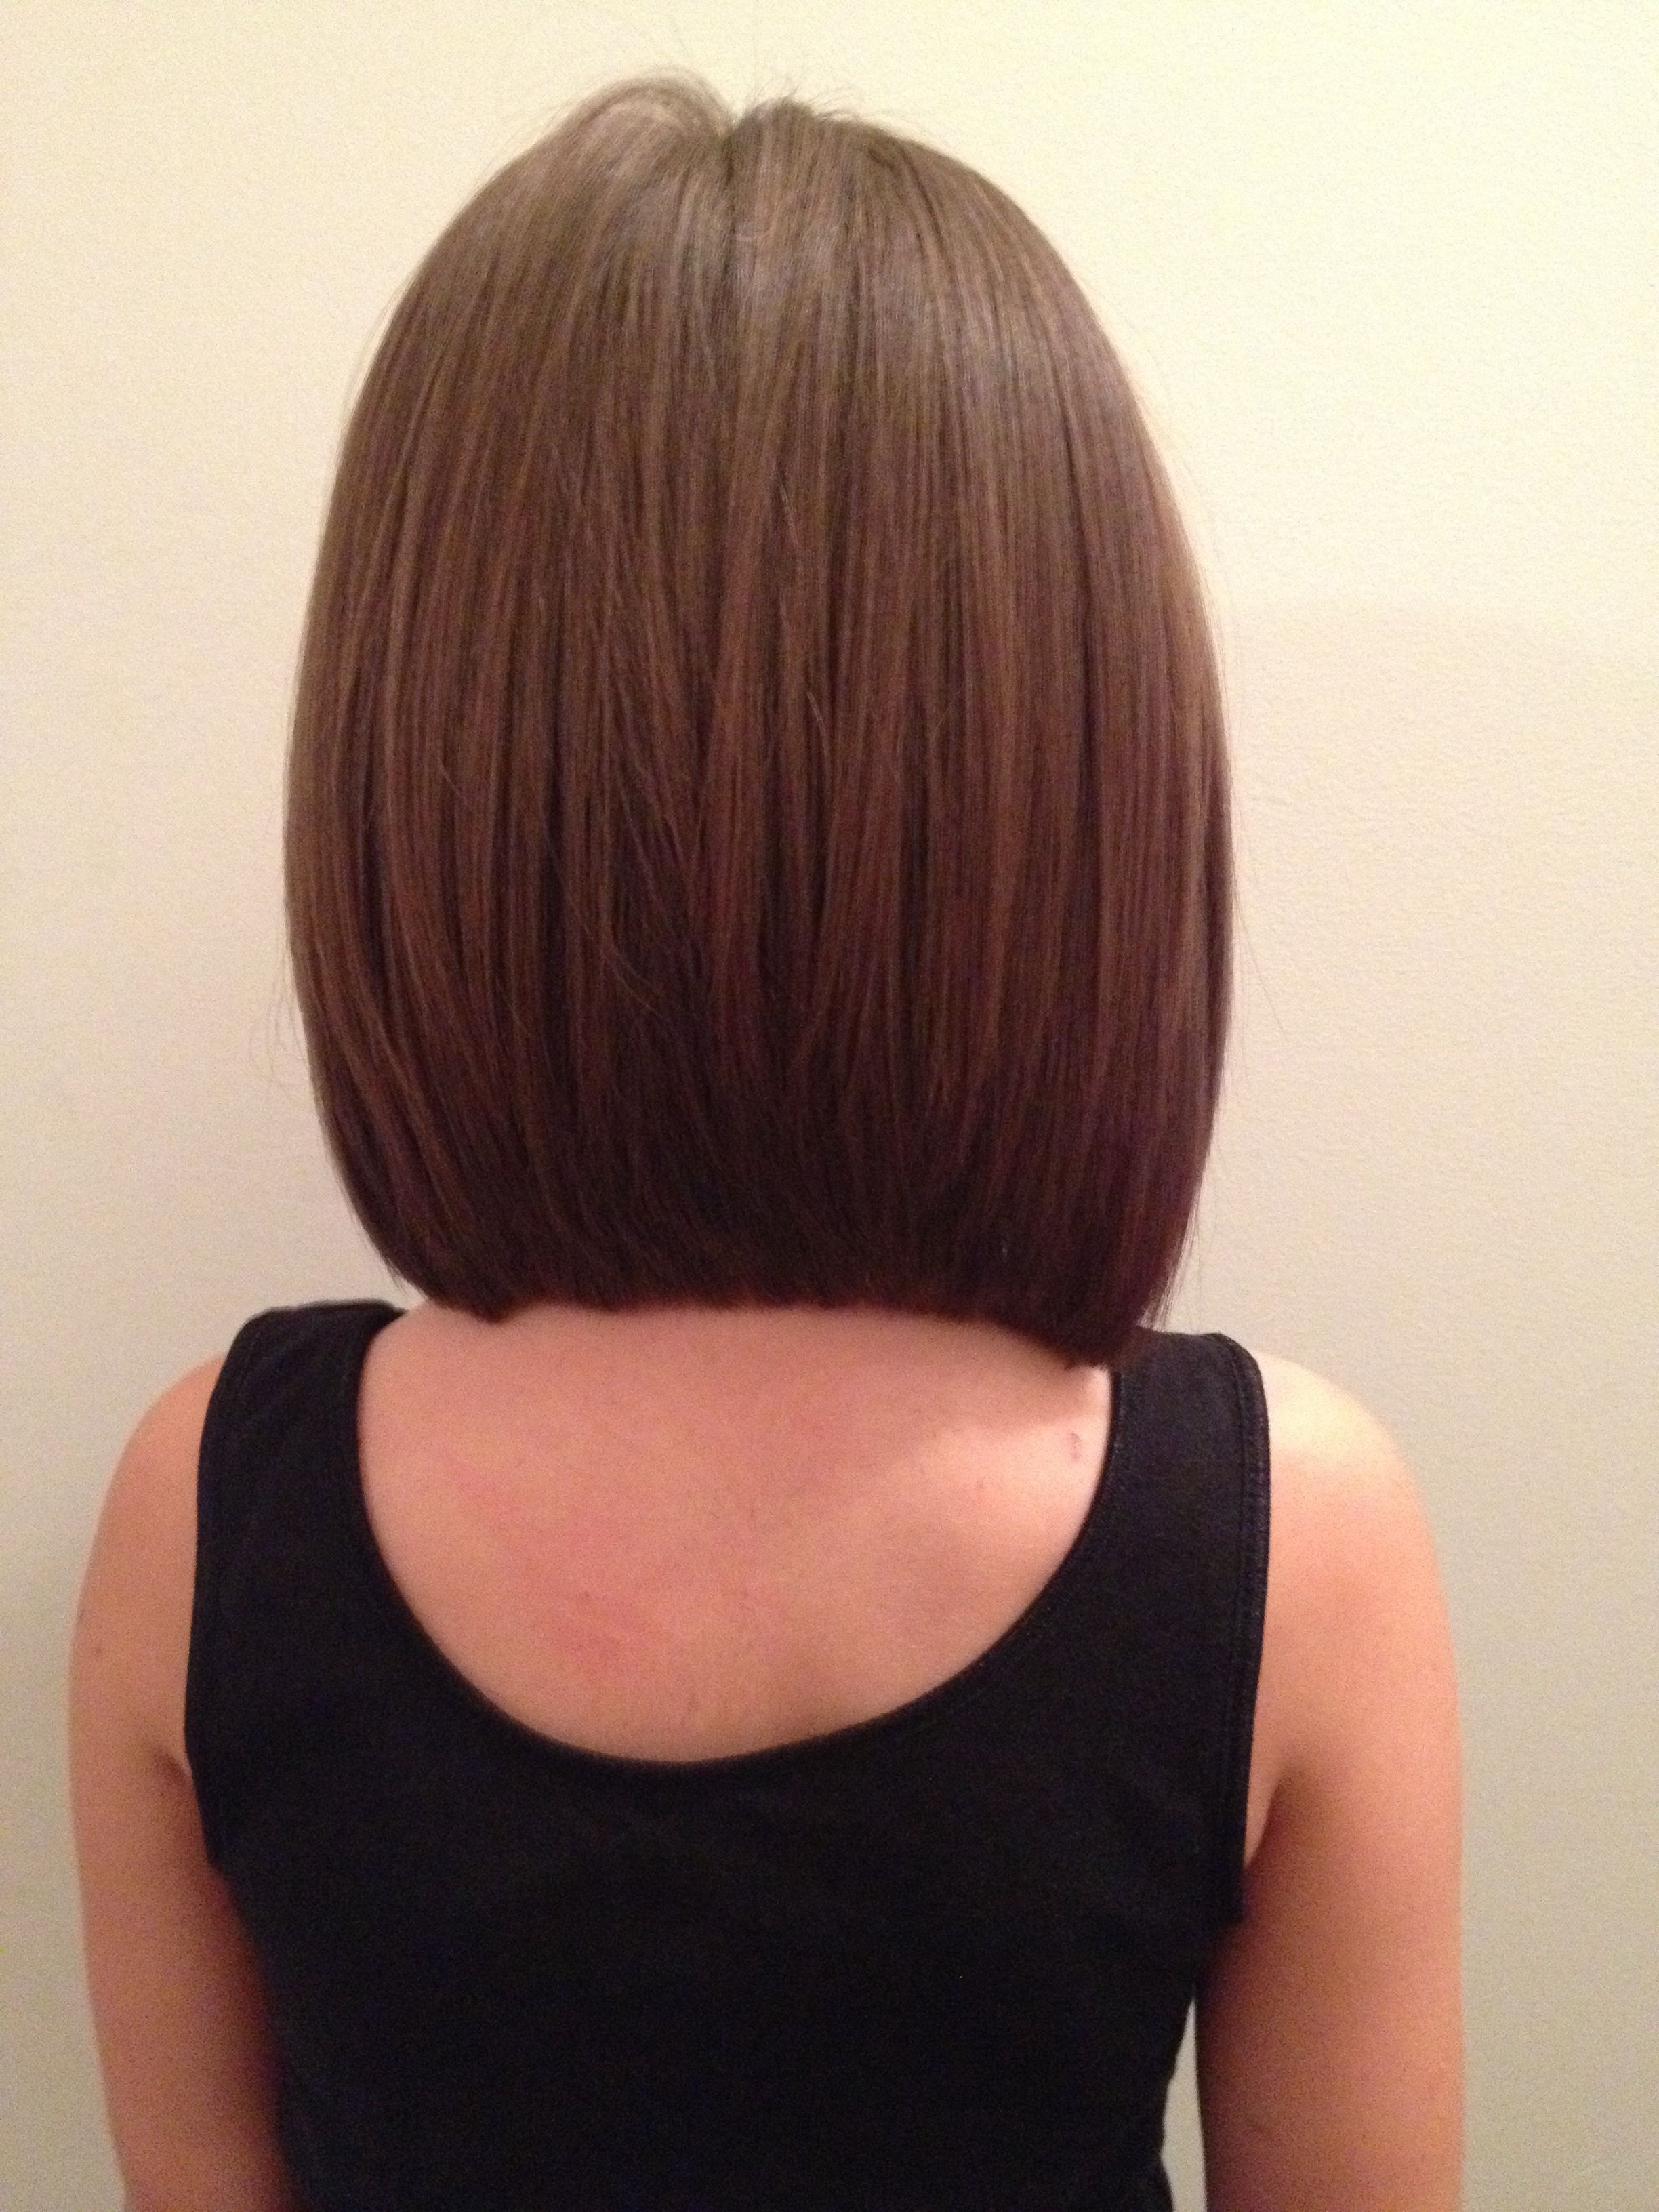


How to cut medium layered Bob like a hairstylist?How to cut medium layered Bob like a hairstylist?What is layered Bob?What is layered Bob?What does a layered bob haircut look like?What does a layered bob haircut look like?What is a short layered Bob?What is a short layered Bob?


Comments
Post a Comment